In the past two days, I’ve worked on and finished update of one of my apps for iPhone X. There were a few challenges along the way, and that’s where this post comes in.
First of all, make sure to watch these sessions if you haven’t already. They will get you up to speed:
In this post, I’ll try to share some of the less obvious things that I came across and how I solved them.
1) How to enable support for iPhone X
Similarly as with the 4″ form factor, or more recently the 4.7″ and 5.5″ iPhones introduced in 2014, you can opt in by either using a launch storyboard or a Default launch image with the correct dimensions.
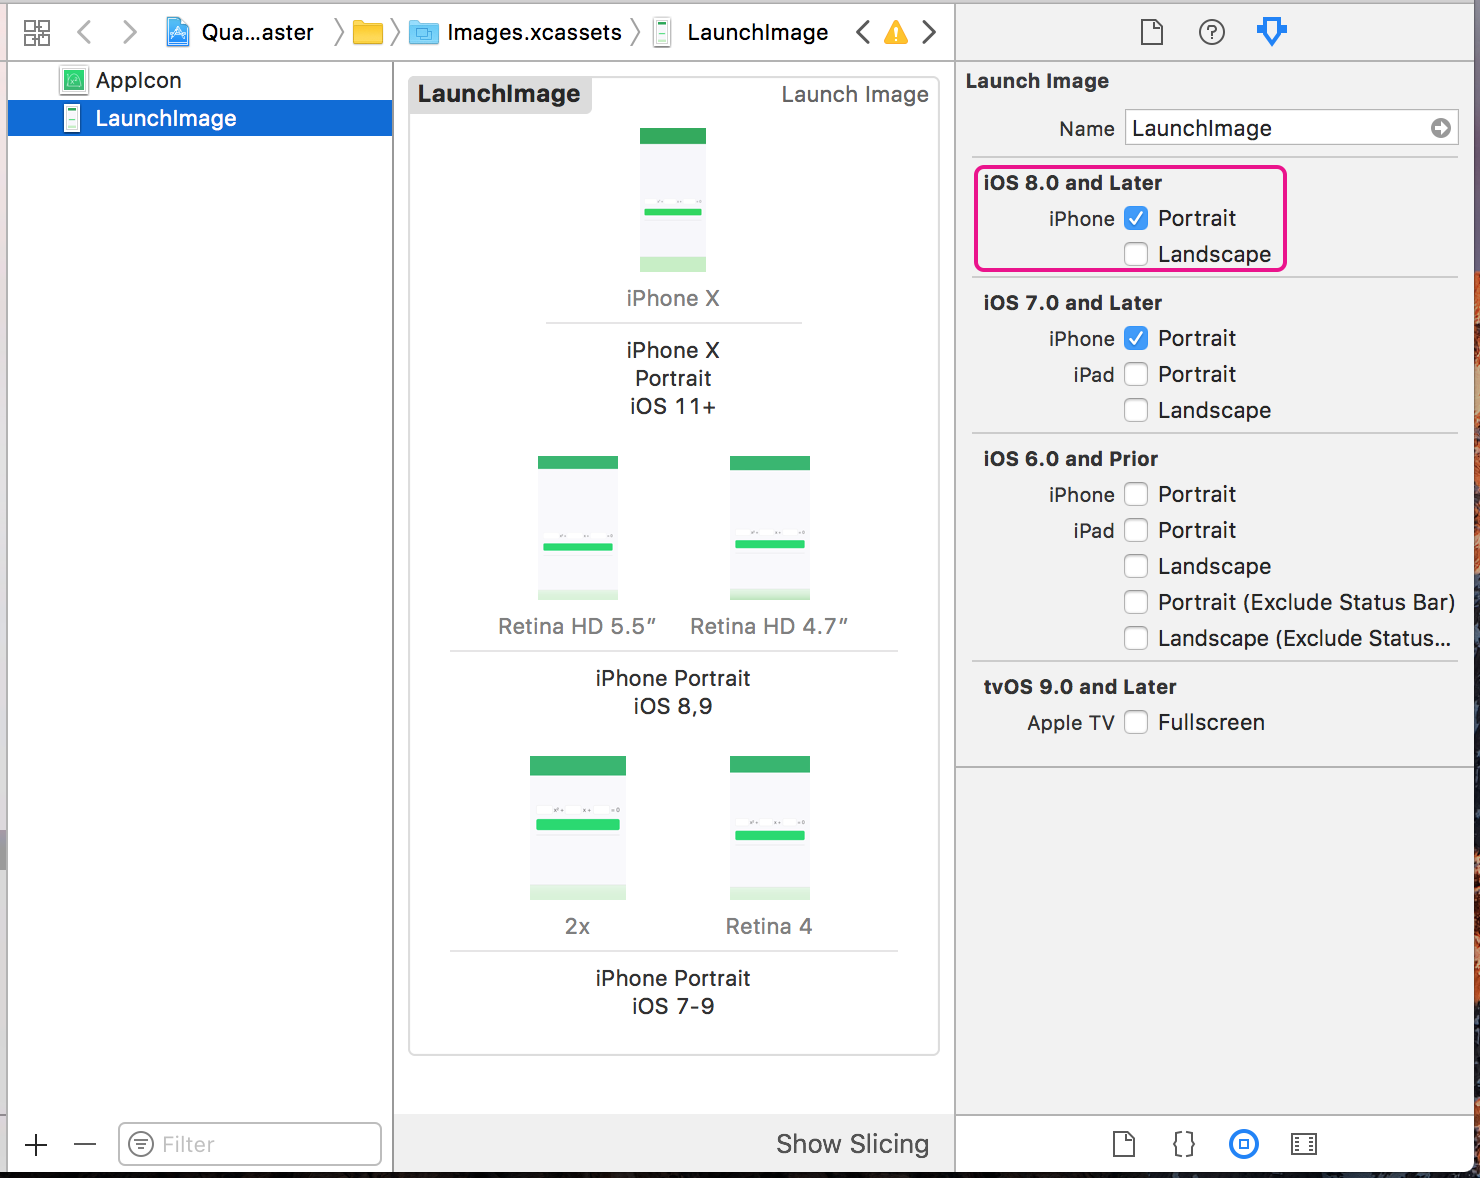
In case of the latter, you’re likely already using a ‘LaunchImage’ set inside of an Asset catalog (Images.xcassets). Here’s what surprised me: when you open it, there’s actually no spot for the iPhone X. You have to manually select the corresponding checkmark on the right, in the Attributes Inspector -> iOS 8.0 and later. Then you can drag in the launch image. At first, I just used a screenshot of the simulator.
2) Safe Area Insets are your (best) friend
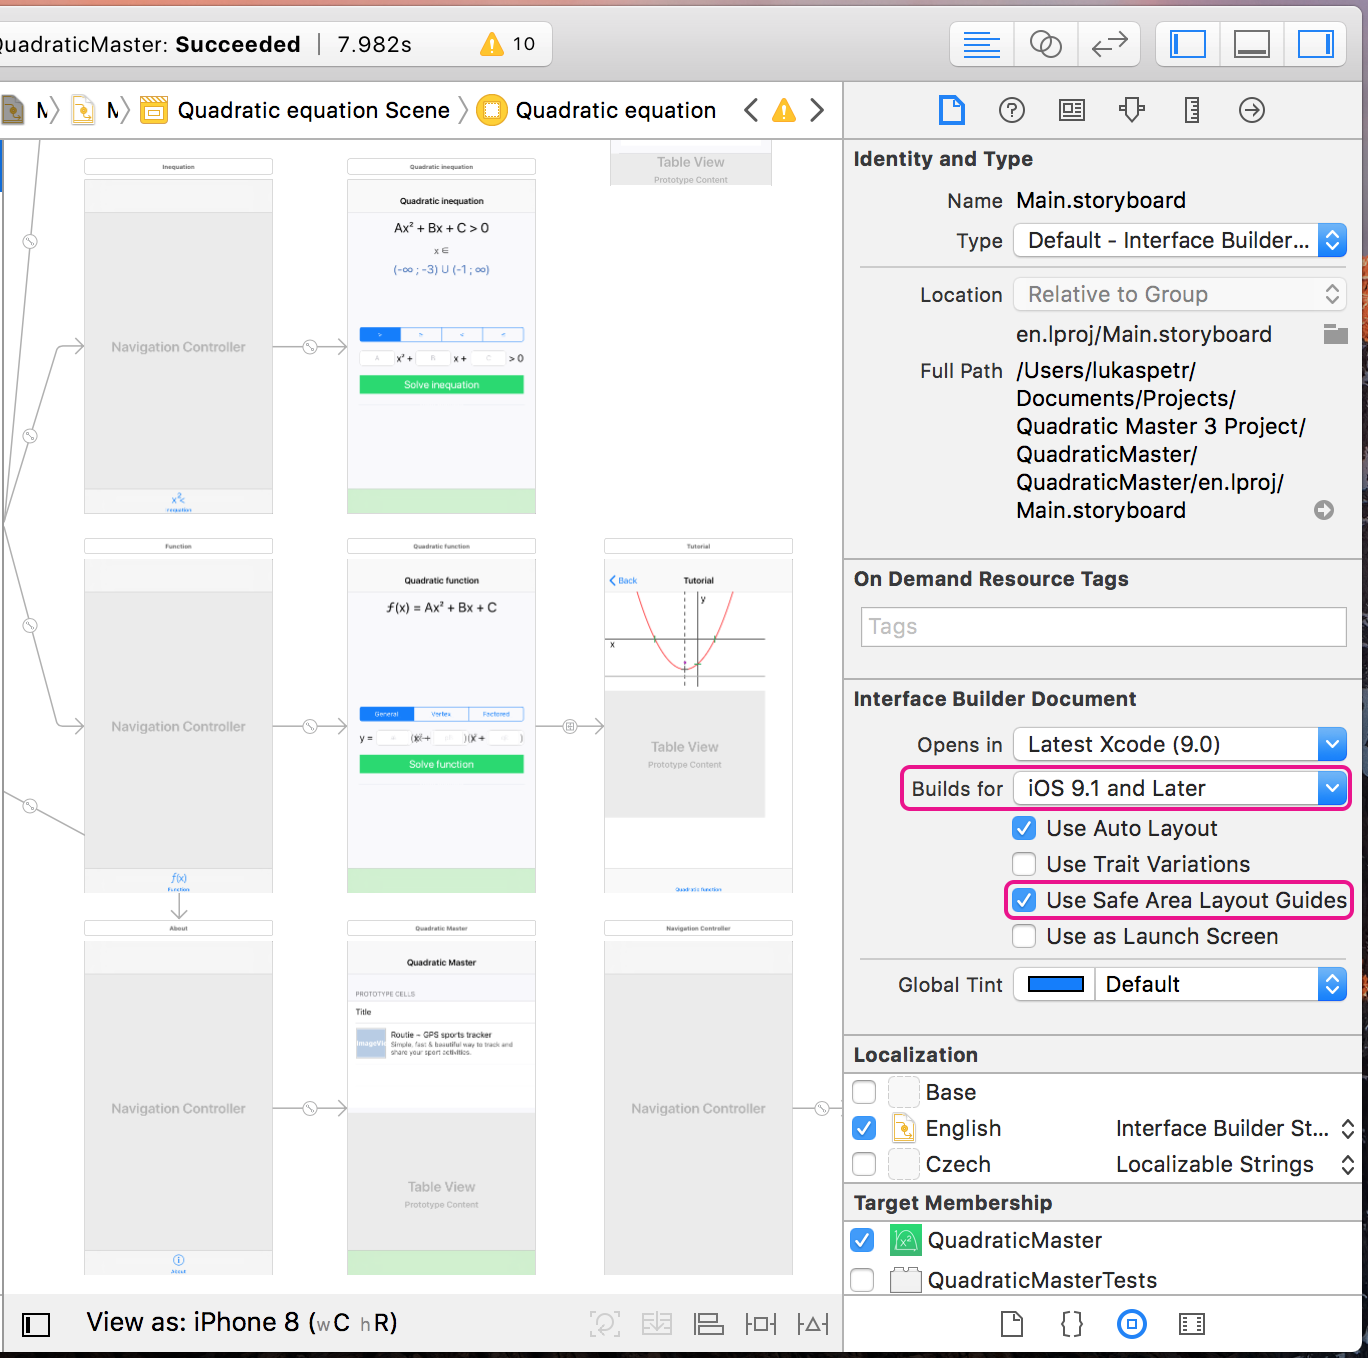
Safe area insets are the main building block upon which you can base the iPhone X support. For existing projects, they’re not enabled by default in the Storyboard. Instead, you can opt into them in Utilities -> File Inspector -> Use Safe Area Layout Guides. The important thing here: they are backwards compatible all the way to iOS 9. But if you were supporting iOS 8 before, you need to manually change ‘Builds for’ option to iOS 9.1 and Later.
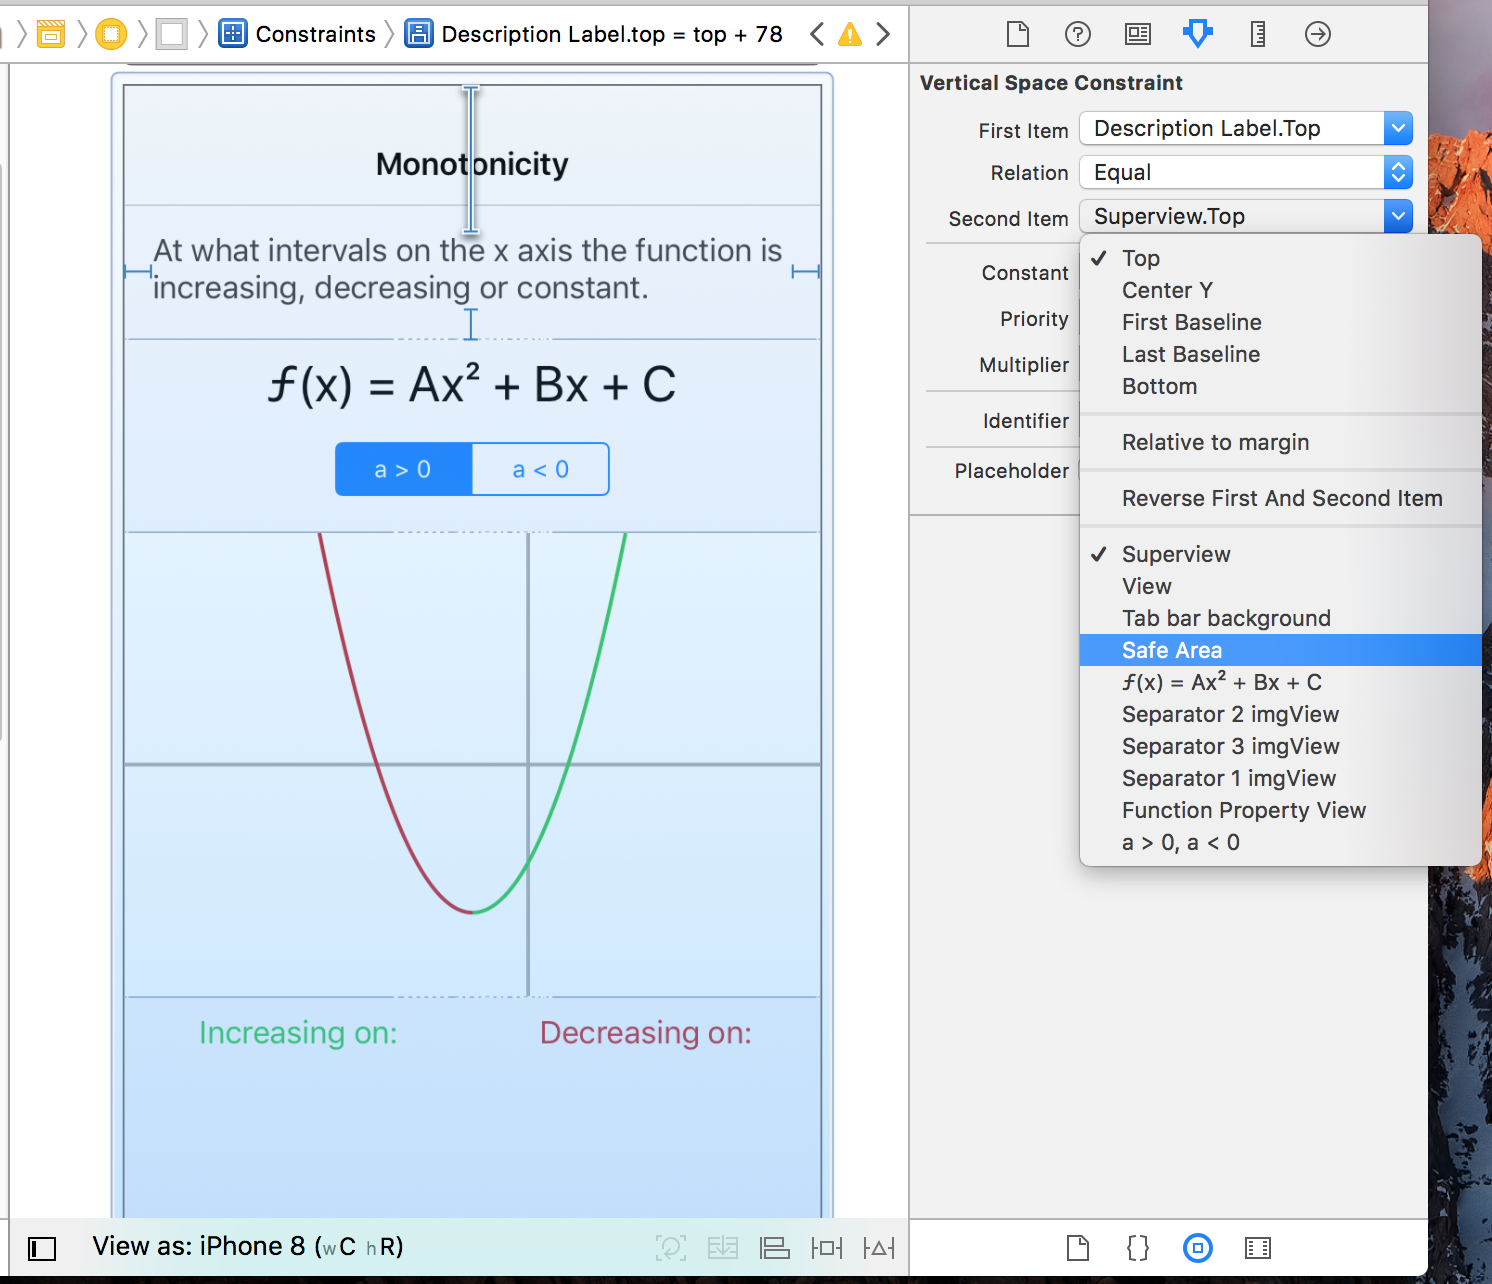
Once you enable it, Xcode will migrate your constraints that were previously pinned to the (now deprecated) layoutGuides. What I recommend doing now is to go through each of your scenes and consider pining your constraints to the top and bottom Safe Area Layout Guides, in places where you had them pinned to the superview bounds. You don’t have to re-create each constraint, you can just change its attribute:
I highly recommend checking out the WWDC session Auto Layout Techniques in Interface Builder to learn more.
3) The code to check if you’re running on an iPhone X
There are obviously a lot of ways to do this, but in my opinion, one of the cleaner ones looks something like this:
if (@available(iOS 11, *)) {
    UIEdgeInsets insets = [UIApplication sharedApplication].delegate.window.safeAreaInsets;
    if (insets.top > 0) {
        // We're running on an iPhone with a notch.
    }
}
The key here is to use the UIWindow’s safeAreaInsets, because those are not affected by any navigation bars / toolbars / tab bars. All non-notch devices are guaranteed to have zero safeAreaInsets at the screen level.
4) Embrace the large navigation bar
I must admit that I really disliked the huge navigation bar. But when designing for the iPhone X and seeing how extremely tall it is, I decided to give it a go. It actually looks pretty good there.
To enable it, you need to do two things: (1) Allow large titles in the navigation bar, (2) Specify which navigation items should have which bar (large, normal, or “inherited”). Make sure to watch Updating Your App for iOS 11 to learn more.
What I decided to do is to enable the large bar only on the iPhone X, and only in a subset of the navigation stack. In the topmost view controller, I have the following code:
// Set up the large title bar on iPhone X
if (@available(iOS 11, *)) {
    if ([UIApplication sharedApplication].delegate.window.safeAreaInsets.bottom > 0) {
        self.navigationController.navigationBar.prefersLargeTitles = YES;
        self.navigationItem.largeTitleDisplayMode = UINavigationItemLargeTitleDisplayModeNever;
    }
}
Then, in the view controller that is the topmost one of the subset that should have the large bar:
if (@available(iOS 11, *)) {
    self.navigationItem.largeTitleDisplayMode = UINavigationItemLargeTitleDisplayModeAlways;
}
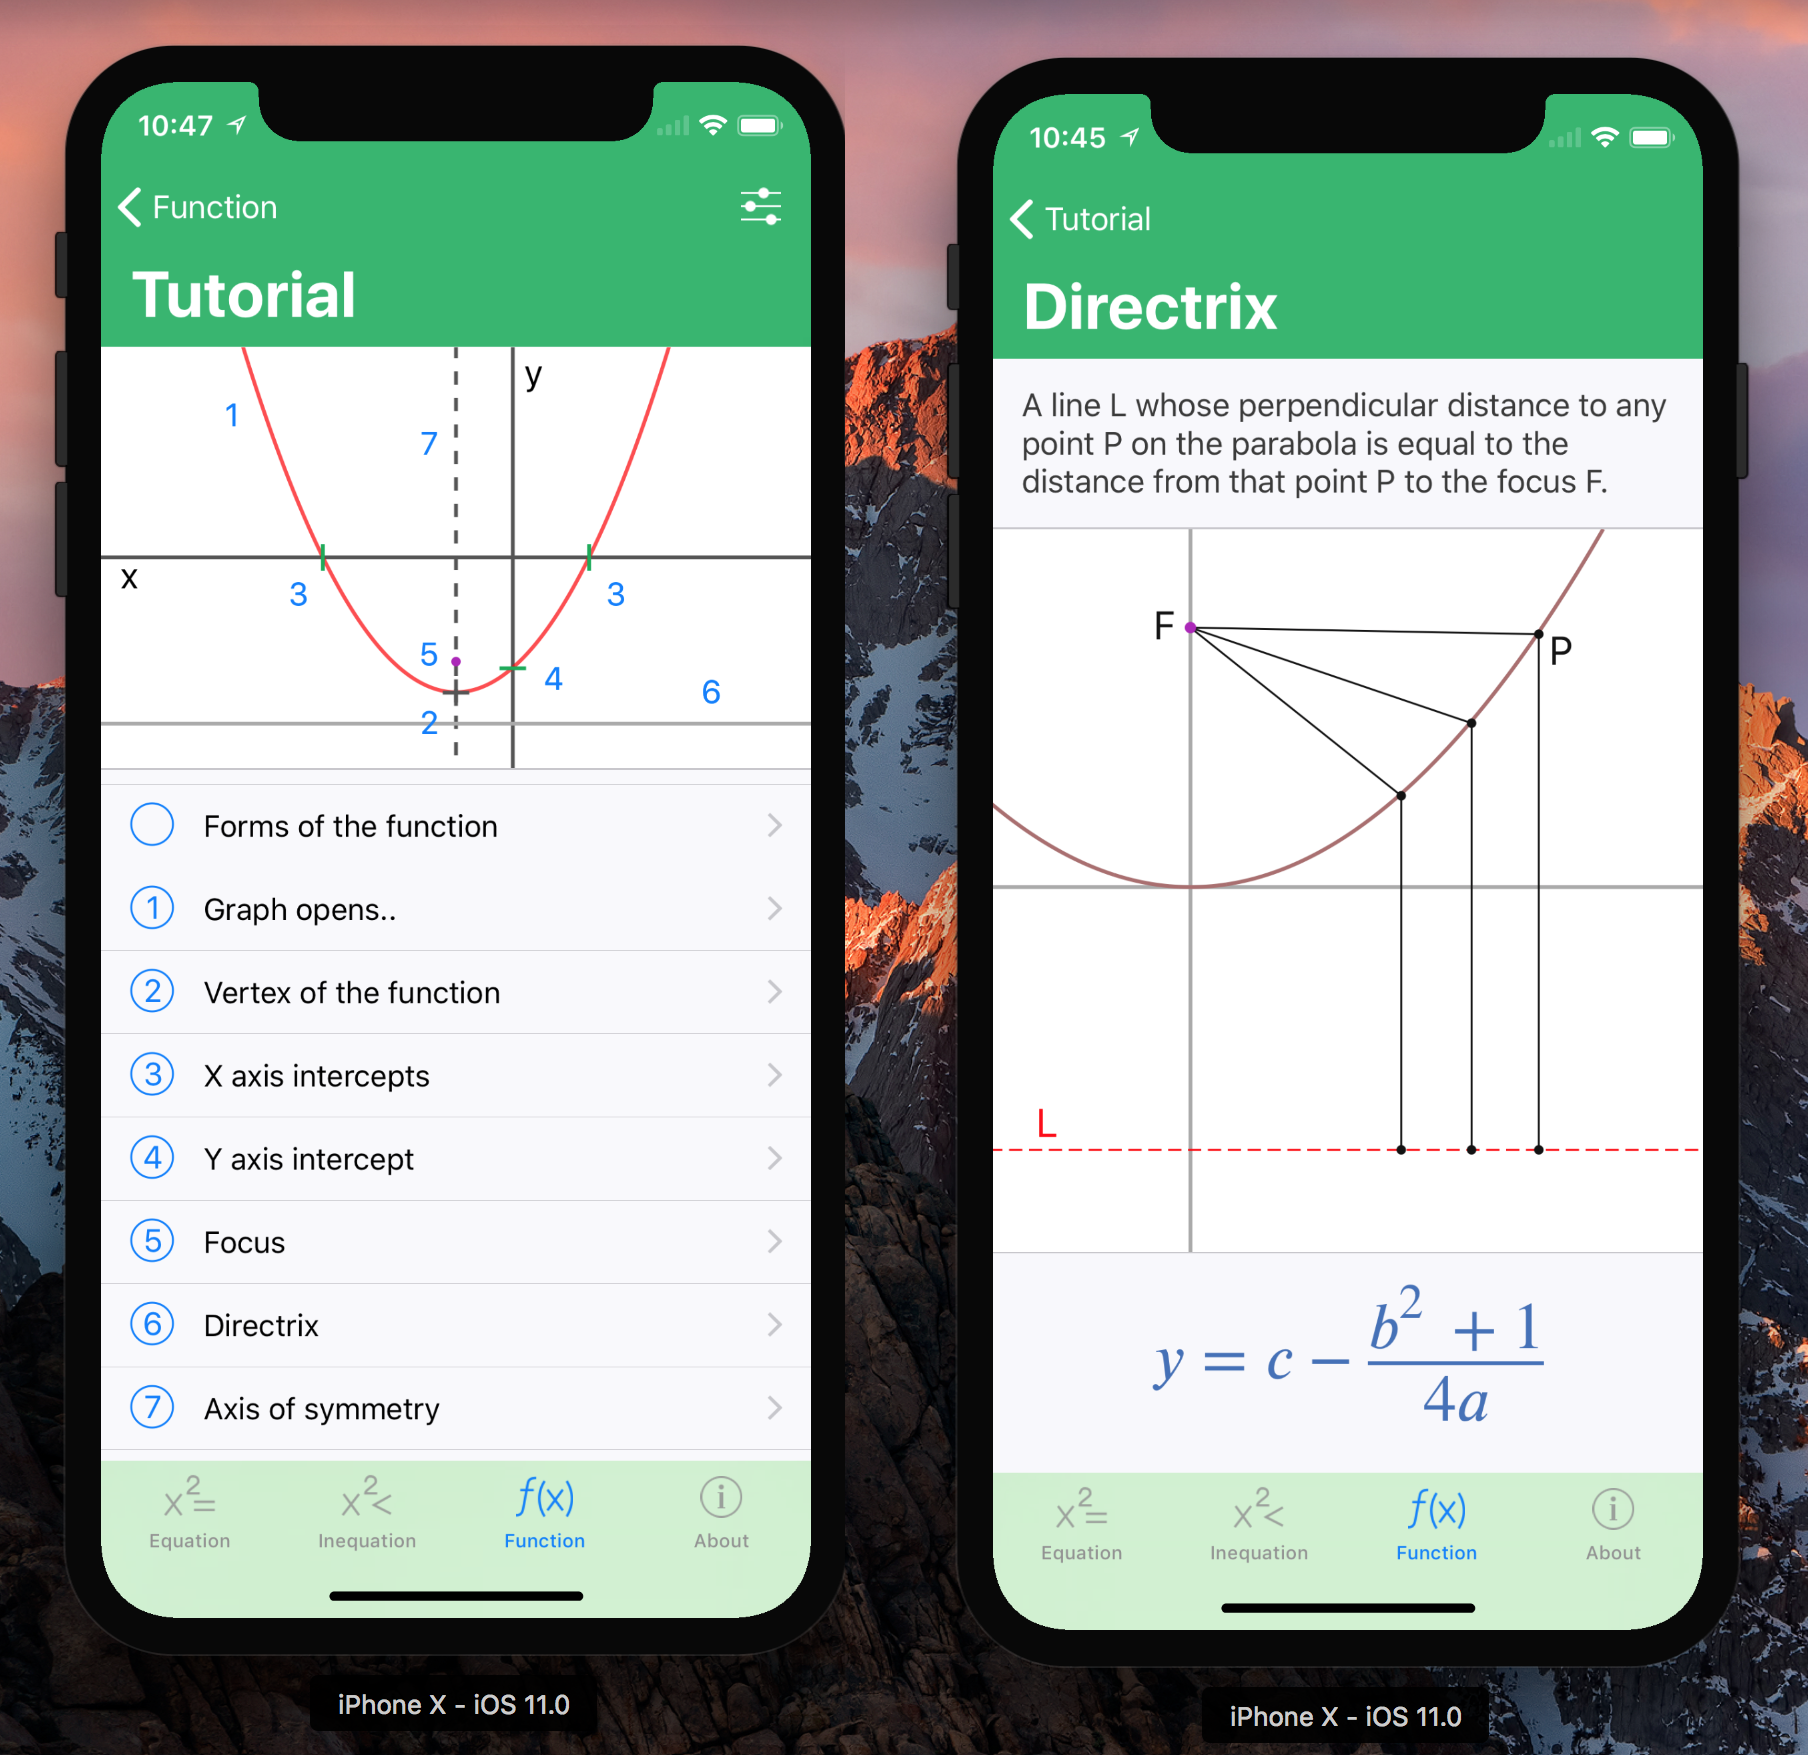
Here’s what it looks like in my app:
5) Relax. There’s still a lot of time to get this done.
At first, I thought that I should have the iPhone X support ready for all of my apps as part of their updates to iOS 11. It feels weird to ship an app that is broken in the iPhone X simulator. But then I realized it’s actually ok. Nobody will be using these devices until November. So it’s actually better to ship you iOS 11 updates now, to have them out there once iOS 11 comes out next Tuesday.
Then, you have a month and a half to get it done properly and be ready for when those X-es come out.
I hope you found this article useful. If you have any interesting things that you discovered while updating your apps for the hot new top-notch device, feel free to share them in the comments section below!